As the cool autumn breeze whispers through the streets, the anticipation for Halloween begins to build. Homemade Halloween cookies are a big part of the magic. They’re fun to make and let you show off your creativity, making everyone smile.
Looking to make your own Halloween cookie masterpieces? You’re in the right place. This guide will show you how to make easy, yet stunning Halloween cookies in your kitchen. With just a few ingredients and basic tools, you’ll be baking festive cookies in no time.
Table of Contents
Essential Ingredients and Equipment for Halloween Cookie Making
To bake delicious Halloween cookies at home, you need a few key ingredients and tools. Get these supplies ready to make spooky and festive treats.
Basic Cookie Ingredients
- Room temperature unsalted butter
- Granulated sugar
- Large eggs
- Vanilla extract
- All-purpose flour
- Baking powder
Required Kitchen Tools and Equipment
- Mixing bowls
- Stand mixer or hand mixer
- Rolling pin
- Cookie cutters in Halloween shapes
- Baking sheets lined with parchment paper
Optional Decorating Supplies
To make your Halloween cookies even spookier, consider these decorations:
- Buttercream or royal icing
- Food coloring in Halloween colors
- Piping bags and decorating tips
- Halloween-themed sprinkles, candies, or edible decorations
| Ingredient/Tool | Quantity Needed |
|---|---|
| Gingerbread man cookie cutters | 1 medium-sized (3-4 inches) |
| Buttercream icing | ¾ pound, medium consistency |
| Black decorator icing | 1 tube |
| Candy eyeballs | 24-36 mini |
With these halloween cookie ingredients and cookie making supplies, you’re set to make amazing halloween baking tools for your next holiday party.
Perfect Sugar Cookie Base Recipe for Halloween Shapes
Make a batch of classic halloween sugar cookies with this easy recipe. The dough keeps its shape well, making it perfect for spooky halloween cookie designs.
To start, you need a few simple ingredients. You’ll need 1 cup of softened butter, 1 cup of granulated sugar, 2 teaspoons of vanilla extract, 1 egg, 3 cups of all-purpose flour, and 2 teaspoons of baking powder. Make sure to cream the butter and sugar until it’s light and fluffy before adding the rest.
- In a large bowl, beat the butter and sugar together until well combined and the mixture is light and creamy, about 2-3 minutes.
- Beat in the vanilla extract and the egg until fully incorporated.
- In a separate bowl, whisk together the flour and baking powder. Gradually add the dry ingredients to the wet ingredients, mixing just until a dough forms.
- Divide the dough in half, shape each half into a disk, wrap in plastic wrap, and refrigerate for at least 1 hour (or up to 3 days).
Once the dough is chilled, it’s easy to roll out and cut into spooky cookie shapes. You can make witches, bats, ghosts, and more. Bake the shapes for 8 to 10 minutes until they’re lightly golden brown. Let them cool completely before decorating with Halloween-themed frostings and sprinkles.
| Ingredient | Amount |
|---|---|
| Butter, softened | 1 cup |
| Granulated sugar | 1 cup |
| Vanilla extract | 2 teaspoons |
| Egg | 1 |
| All-purpose flour | 3 cups |
| Baking powder | 2 teaspoons |
This halloween cookie recipe is easy to follow and makes a spooktacular dessert. It’s perfect for both kids and adults. Get creative with your cookie shapes and decorations to make this Halloween extra special.
Step-by-Step Mixing and Dough Preparation
Learning to make cookie dough is key for Halloween treats. You can make spooky ghosts, carved pumpkins, or bat cookies. The secret is in the right mixing and dough texture.
Proper Butter and Sugar Creaming Technique
Start by creaming butter and sugar for 2 minutes until it’s light and fluffy. This step is important for the right cookie dough texture. Then, add the egg and vanilla extract, mixing well.
Achieving the Right Dough Consistency
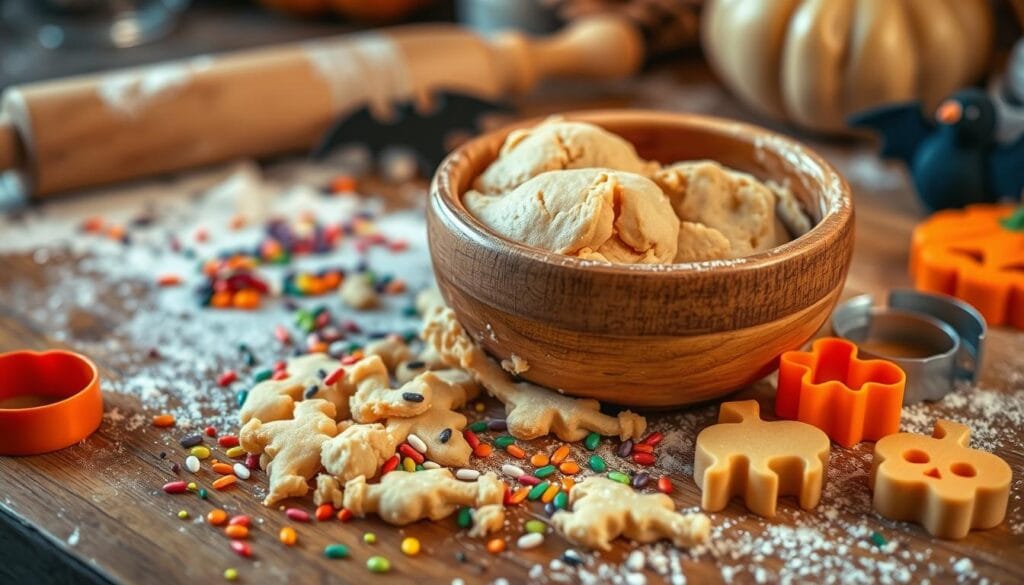
Slowly add flour and baking powder to the butter and sugar mix. The halloween cookie dough should feel like play-doh. This texture is great for rolling and cutting your Halloween cookies.
Chilling and Rolling Tips
After mixing, cover the dough and chill it in the fridge for at least 1 hour. This step makes the dough firm, preventing it from spreading too much. When you’re ready to bake, flour your surface and roll the dough to the right thickness. Keep it chilled while rolling.

“The key to perfect Halloween cookies is all in the dough preparation. Take the time to cream the butter and sugar properly, and chill the dough before rolling for the best results.”
Halloween Cookie Cutting and Shaping Guide
As you get ready to bake Halloween-themed sugar cookies, the secret to perfect shapes is in the cutting and shaping. Roll out your dough to 1/4 inch for small cookies or 1/2 inch for big ones. This makes sure your shapes stay in shape while baking.
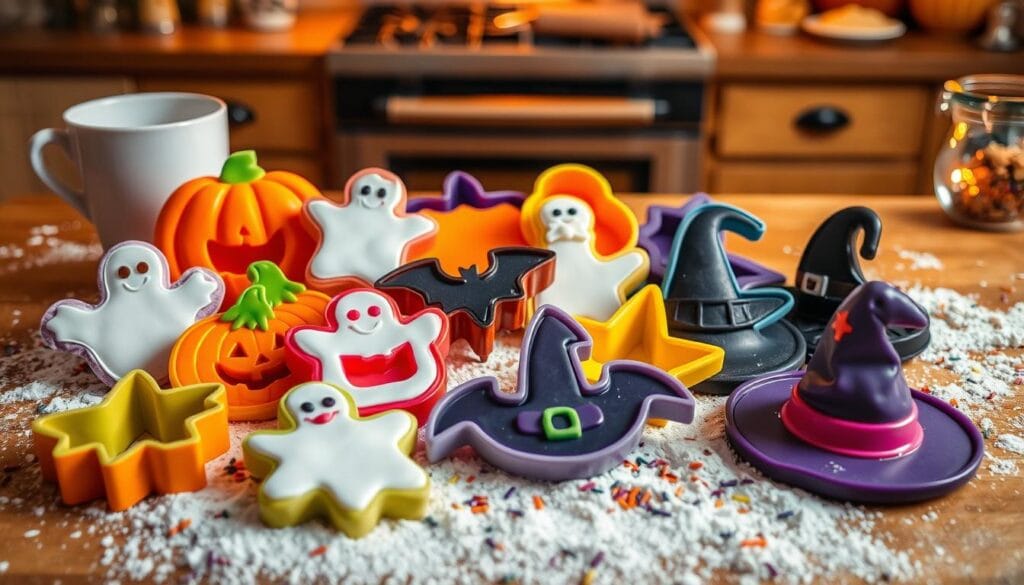
Grab a bunch of Halloween cookie cutters in spooky shapes like ghosts, pumpkins, bats, and witches’ hats. Press the cutters into the dough gently. Then, move the cookie shapes to your baking sheets, leaving about 2 inches between each. The dough won’t spread much, so your Halloween designs will pop.
- Roll dough to 1/4-inch thickness for smaller cookies or 1/2-inch for larger ones.
- Use a variety of Halloween-themed cookie cutters to create shapes like ghosts, pumpkins, bats, and witches’ hats.
- Carefully transfer the cut-out cookie shapes to baking sheets, spacing them about 2 inches apart.
With a bit of practice, you’ll be a pro at shaping and cutting Halloween cookies. You’ll turn your kitchen into a magical baking wonderland.

Baking Instructions for Perfect Halloween Cookies
To get the perfect texture for your Halloween cookies, focus on the baking process. Follow these easy steps to make your cookies soft, chewy, and full of spooky flavor.
Temperature and Timing Guidelines
Preheat your oven to 350°F (175°C). This temperature is perfect for baking cookies evenly. It helps them get a golden-brown color without burning the bottoms. The baking time varies based on cookie size. Smaller ones might need less time, while bigger ones might take a bit longer.
Signs of Doneness
Watch your Halloween cookies closely as they bake. They’re done when they’re no longer shiny on top and have puffed up. Light golden-brown edges are also a good sign they’re baked just right.
Cooling Process
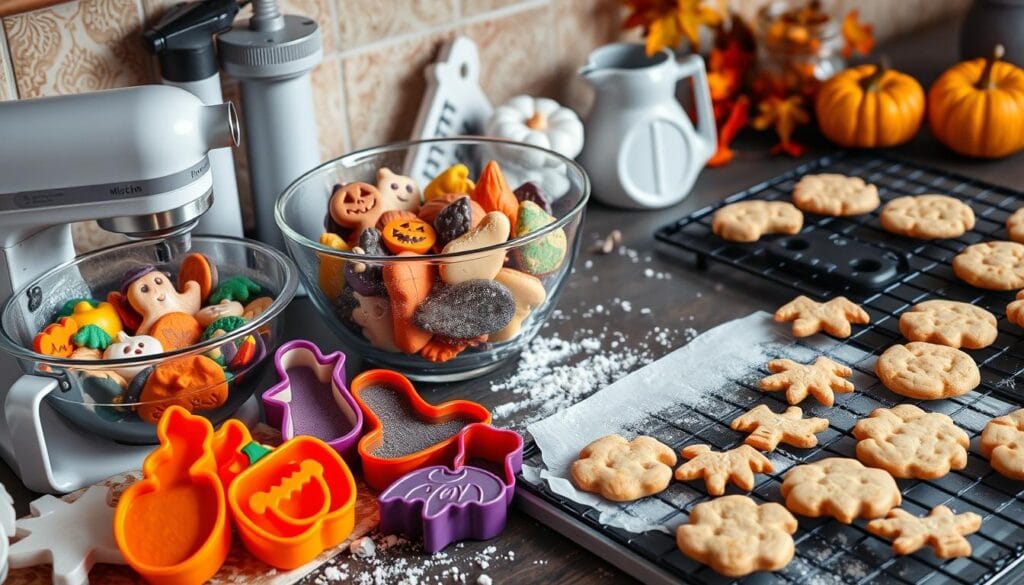
After baking, don’t decorate the cookies yet. Let them cool completely on wire racks before adding decorations. This step is key for the perfect texture – soft in the middle and crunchy on the edges.

By following these baking tips, you’ll make delicious Halloween cookies. They’ll be a hit with your family and friends. Happy baking!
Creative Halloween Cookie Designs and Themes
This Halloween, make your baking spooktacular with creative cookie designs and themed sets. You can go from classic Halloween icons to candy-inspired creations. The options for Halloween cookie designs are endless.
Bring the haunting spirit of Halloween to life with spooky cookie designs. Think spiderwebs, mummies, and Frankenstein monsters. Use bold black, orange, and purple to get into the Halloween mood. For a fun twist, try ghost faces, candy corn colors, and other playful designs that kids and adults will love.
To take your Halloween cookies to the next level, create themed sets with different shapes and colors. Mix spooky cookies, decorated cookies, and halloween cookie designs on a platter for a stunning display. Try piping, flooding, and stamping to add depth and texture to your cookies.
| Halloween Cookie Theme | Recommended Designs | Decorating Techniques |
|---|---|---|
| Hocus Pocus | Witch hats, brooms, black cats | Royal icing, piping, sprinkles |
| Haunted House | Haunted houses, ghosts, tombstones | Piping, flooding, edible markers |
| Candy Cravings | Candy corn, Reese’s cups, Twix bars | Buttercream, sprinkles, chocolate drizzle |
Let your creativity shine and have fun with halloween cookie designs and spooky cookies this Halloween. Whether for a party, gifts, or just festive treats, your homemade decorated cookies will impress and delight everyone.
Frosting and Decorating Techniques
Take your Halloween cookies to the next level with expert frosting and decorating. Choose from buttercream or royal icing to make your treats stand out. These tips will guide you to create spooky delights that wow everyone.
Basic Buttercream Recipe
Begin with a smooth buttercream frosting for your Halloween cookies. In a big bowl, beat 1 cup (226g) of unsalted butter until it’s light and fluffy. Then, add 4 cups (452g) of powdered sugar slowly, mixing well each time. Add a bit of vanilla extract for taste. This buttercream is great for piping, spreading, or adding texture.
Royal Icing Tips
Royal icing gives a shiny, hard finish that dries fast. To make it, mix 1 large egg white and a bit of lemon juice until it’s frothy. Then, slowly add 4 cups (452g) of powdered sugar until it’s the right consistency. Split the icing into bowls and color it with gel food coloring for a bright Halloween look.
Color Mixing Guide
- Orange: Mix red and yellow food coloring.
- Black: Use pure black gel food coloring.
- Green: Combine yellow and blue food coloring.
- White: Use pure white for a crisp, clean look.
Try piping, flooding, and dry brushing to enhance your Halloween cookie designs. Let the frosting or icing set fully before storing or serving for the best look.
“Decorating cookies is a fun way to get creative and tap into your inner artist. With a little practice, you’ll be whipping up professional-looking Halloween treats in no time.”
Happy Halloween baking and decorating!
Storage and Make-Ahead Tips for Halloween Cookies
Keeping your homemade Halloween cookies fresh is crucial. Whether you bake ahead or need to keep them fresh for Halloween, we’ve got tips for you. These cookie storage tips and make-ahead strategies will help.
Freeze for Future Enjoyment
Halloween cookies freeze well for up to 3 months. This makes them perfect for make-ahead baking. Cool, undecorated cookies can be stored in airtight containers or plastic bags in the freezer.
When you’re ready, thaw them at room temperature. Then, decorate as you like.
Storing Decorated Cookies
Decorated cookies can be stored in airtight containers at room temperature for up to a week. Make sure to avoid stacking decorated cookies. This keeps the designs and frosting from getting damaged.
Make the Dough Ahead of Time
Make the cookie dough up to 3 days in advance and refrigerate it until ready to use. Chilled dough is easier to work with. Wrap it tightly in plastic wrap or store in an airtight container before refrigerating.
By using these cookie storage and make-ahead tips, your Halloween cookies will stay fresh and delicious. They’ll be ready to impress your guests, whether you bake weeks in advance or the day of your celebration.
Common Halloween Cookie Troubleshooting
Baking Halloween cookies at home can have its challenges. But, with a bit of troubleshooting, you can fix common issues. If your cookies spread too much, you might have used too little flour. If they’re dry and crumbly, you likely used too much flour.
Adding a teaspoon or two of flour at a time can help you get it just right. This way, you can achieve the perfect texture.
Flat, cake-like cookies often come from using too many eggs. Try using fewer eggs or a bit more flour to fix this. If your cookies are flat and crispy, it might mean you didn’t use enough flour.
For the best results, focus on the right amounts of flour, butter, and sugar. Chilling the dough before baking also helps. It keeps the cookies’ shape and adds flavor. With some practice, you’ll bake delicious Halloween cookies every time.

